Manage your domain name DMARC record
DMARC protects your domain from phishing and spam by ensuring only authenticated emails are delivered.
Please note that domain names connected to your hosting control panel and pointed to our network via the Skystra nameservers and using our MX records will automatically have a DMARC record enabled. You do not need to perform the steps below.
⚠️ If you are using email through Google Workspace or Microsoft 365, the default DMARC would require modification as well, however, is completed for you through an automatic process. Please visit the Google Workspace email or Microsoft 365 email guides respectively to view details.
DMARC authentication for domain names using external nameservers with Skystra-hosted email
If you are using external nameservers, however, and have your email service connected to the Skystra hosting platform via MX records, you will have to add the default DMARC record from your hosting control panel to your DNS provider’s panel, by following the steps below.
1. Log in to your hosting control panel
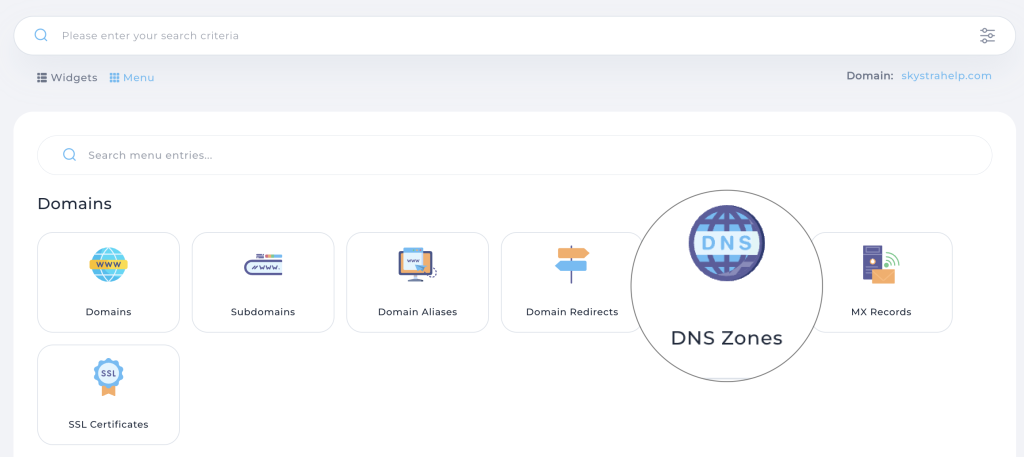
2. Click the down arrow ∨ next to your 🌐 domain name and choose the domain you want to manage


3. Click on the DNS Zones button
4. Under the Value column, locate the DNS entry that starts with _dmarc – this is your DMARC entry, keep your browser window open here

5. Open a new browser window, and log in to your external DNS customer portal account (for example, Cloudflare, etc.)
6. Go to manage the DNS zones for your domain name and select to add a new TXT record OR edit the existing DMARC record if it already exists (Note: DMARC records are considered ‘TXT records’ in DNS zones)
7. Enter the name of the DMARC record, which will always be
_dmarc8. Enter the entire content of the DMARC record which is indicated under the Value column and starts with v=DMARC1. For example, from the screenshot above, the entire DMARC value would be:
v=DMARC1; p=none;⚠️ Important: You will see your DMARC record within quotations ” ” on your hosting control panel – do NOT put these quotations in when inputting the content of your DMARC record at your DNS provider.
9. Save your TXT record to enable DMARC on your domain name at your DNS/CDN provider