Add or edit CNAME records
A CNAME record, or Canonical Name record, is a DNS entry that redirects traffic subdomains to another domain or platform.
You can manage CNAME records from your hosting control panel if your domain name is using the Skystra nameservers. However, if you are using an external DNS and/or CDN provider (Cloudflare, etc.) on external nameservers – your CNAME records would be managed at that provider.
Add a CNAME record
1. Log in to your hosting control panel
2. Click the down arrow ∨ next to your 🌐 domain name and choose the domain you want to manage


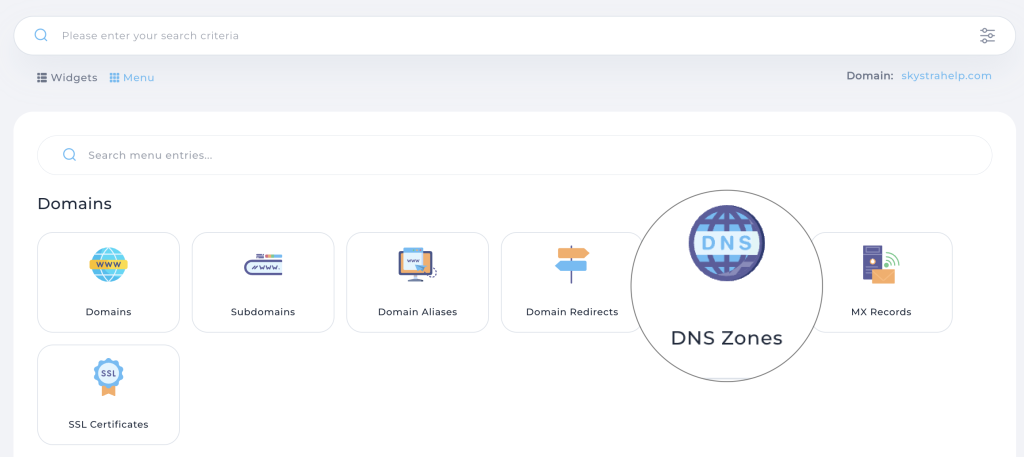
3. Click on the DNS Zones button
4. Click the Add Record button

5. For the Record Type dropdown, select CNAME

6. In the Name field, type or paste in the name of your CNAME record

7. In the Value field, delete your domain name that is auto-filled, and type or paste in the value of your CNAME record

Note: You can leave the TTL field as default unless you have instructions that indicate otherwise
8. Click the ADD button

9. You will now see your CNAME record listed on your DNS zone entries. Look under Type and find CNAME to see your newly created entry.

10. If you have additional CNAME entries, go back to step 1 and repeat the steps to add them.
Edit a CNAME record
1. Locate your existing CNAME record

2. Click the pencil icon on the right-hand side ✏️

3. In the Value field, delete the existing entry record and put in your new value

4. Once you’ve put in your new value, click the Save button
